> ## Documentation Index
> Fetch the complete documentation index at: https://suibyexamples.com/llms.txt
> Use this file to discover all available pages before exploring further.
# Walrus TypeScript SDK Guide
> Complete guide to using the Walrus TypeScript SDK for decentralized storage
Walrus is undoutedly the best decentralized storage solution in the market right now by every metric. The developer tooling scene is also great.
This article will walk you though interacting with the Walrus protocol. You’ll learn everything you’ll need to start uploading and retrieving blobs and generally interacting with the Walrus protocol.
## Getting Started with Walrus & TypeScript
First, you’ll need to get set up with Walrus. I recommend installing via the CLI commands, especially if you’re on a Mac, because I ran into an issue trying to install it on my Mac.
You will likely deploy your Walrus site on Mainnet, so execute this command to install the Walrus CLI tool and then the website builder for mainnet.
Execute this command to install the latest Walrus mainnet version:
```bash [Terminal] theme={null}
curl -sSf https://docs.wal.app/setup/walrus-install.sh | sh
```
You’ll need to add the `walrus` binary to your PATH. Also, you need to download the latest Walrus configurations with this command:
```bash [Terminal] theme={null}
curl https://docs.wal.app/setup/client_config.yaml -o ~/.config/walrus/client_config.yaml
```
You just installed Walrus CLI in this case for the sole purpose of requesting test tokens.
To request Walrus Testnet WAL tokens, make sure you have a Sui Testnet wallet with some SUI tokens. You can get some from the [\*\*Sui Testnet faucet](https://faucet.sui.io/?network=testnet).
Now, execute this command in your terminal to exchange some SUI for WAL:
```bash [Terminal] theme={null}
walrus get-wal
```
By default, this command exchanges 0.5 SUI for 0.5 WAL (Testnet tokens, both with no real value). You can specify a different amount using the `--amount` option, and a specific SUI/WAL exchange object with the `--exchange-id` option.
For more options, run:
```bash [Terminal] theme={null}
walrus get-wal --help
```
After running the command, you can check your balances with:
```bash [Terminal] theme={null}
sui client balance
```
You should see both your SUI and WAL balances listed.
Finally, install the Walrus and Sui TypeScript SDKs with this command:
```bash [Terminal] theme={null}
npm install --save @mysten/walrus @mysten/sui
```
Now, you’re ready to start building with Walrus. The `get-wal` command is only available on Walrus testnet. On mainnet you’ll need to visit an exchange or use Slush Wallet to swap for some.
## Writing Data to Walrus
First, add these imports to the top of your file from the Sui and Walrus SDKs.
```tsx [index.ts] theme={null}
import { getFullnodeUrl, SuiClient } from '@mysten/sui/client';
import { WalrusClient, RetryableWalrusClientError } from '@mysten/walrus';
import { Ed25519Keypair } from '@mysten/sui/keypairs/ed25519';
```
You’ll need to define Sui and Walrus clients respectively like this, and specify the networks:
```tsx [index.ts] theme={null}
const suiClient = new SuiClient({
url: getFullnodeUrl('mainnet'),
});
const walrusClient = new WalrusClient({
network: 'mainnet',
suiClient,
});
```
You’ll also need the keypair you’ve funded with SUI and WAL.
```tsx [index.ts] theme={null}
const keypair = Ed25519Keypair.fromSecretKey(
''
);
```
Now, you can upload a file to Walrus with the `writeBlob` command. It takes in the blob and other configurations including if you want it deletable, the number of epochs you want to perisist the data for, and the signer.
```tsx [index.ts] theme={null}
async function uploadPackageJson(path: string): Promise {
const content = readFileSync(path, 'utf-8');
const fileBytes = new TextEncoder().encode(content);
const { blobId, blobObject } = await walrusClient.writeBlob({
blob: fileBytes,
deletable: true,
epochs: 3,
signer: keypair,
});
console.log(`Uploaded with blobId: ${blobId}`);
console.log(`Uploaded with blobObject: ${blobObject.id.id}`);
return blobId;
}
//
(async () => {
const blobId = await uploadPackageJson('./package.json');
})();
```
In this case, I’m uploading the `package.json` file in my project, and I’m logging the blob ID and object ID to the console. If your upload is complete, you should get the ID like this.
## Reading Data From Walrus
You’ll need the blob ID to read the file from Walrus network. Here’s how you can read it and save it to a path.
```tsx [index.ts] theme={null}
import { writeFileSync } from 'fs';
import { RetryableWalrusClientError, WalrusClient } from '@mysten/walrus';
async function downloadPackageJson(blobId: string, outputPath: string): Promise {
try {
const data = await walrusClient.readBlob({ blobId });
const json = new TextDecoder().decode(data);
writeFileSync(outputPath, json, 'utf-8');
console.log(`Downloaded and saved to ${outputPath}`);
} catch (error) {
if (error instanceof RetryableWalrusClientError) {
console.warn('Retryable error occurred. Resetting client and retrying...');
walrusClient.reset();
return downloadPackageJson(blobId, outputPath);
}
throw error;
}
}
(async () => {
await downloadPackageJson("guaJi9QLJOeoH8zZg11dtmbtWN4YmXRlDyxXCgMT5fo", './downloaded-package.json');
})();
```
The **`readBlob`** function fetches the binary content from Walrus nodes. Then, **`TextDecoder().decode(...)`** converts the binary blob to a string, before **`writeFileSync`** saves it to a file.
If a network or sync issue occurs (e.g., during epoch transition), the retry logic ensures you don’t crash on transient errors.
## Deleting Data from Walrus
Provided that you set the `deletable` option to true when you uploaded your blob to Walrus, you should be able to delete it from the network with the `executeDeleteBlobTransaction` function like this:
```tsx [index.ts] theme={null}
async function deleteBlobByObjectId(blobObjectId: string) {
try {
const { digest } = await walrusClient.executeDeleteBlobTransaction({
blobObjectId,
signer: keypair,
});
console.log(`✅ Blob deleted successfully. Transaction digest: ${digest}`);
} catch (err) {
if (err instanceof RetryableWalrusClientError) {
walrusClient.reset();
console.warn('⚠️ Retrying after client reset...');
const { digest } = await walrusClient.executeDeleteBlobTransaction({
blobObjectId,
signer: keypair,
});
console.log(`✅ Blob deleted after retry. Digest: ${digest}`);
} else {
console.error('❌ Failed to delete blob:', err);
}
}
```
In this case, you’ll use the Sui object ID during the function call to delete the object like this:
```tsx [index.ts] theme={null}
deleteBlobByObjectId('0xac0988c339c5ec5c6b230f64e75b22a09457eff136e1e30fc3ce21412aa93ef6');
```
Here’s the output you should expect if you execute the function:
## Conclusion
You’ve learned how to install Walrus and do the basic functions of storage over the TypeScript client. Regardless of what you’re building now you can keep the entire stack decentralized.
 ## Reading Data From Walrus
You’ll need the blob ID to read the file from Walrus network. Here’s how you can read it and save it to a path.
```tsx [index.ts] theme={null}
import { writeFileSync } from 'fs';
import { RetryableWalrusClientError, WalrusClient } from '@mysten/walrus';
async function downloadPackageJson(blobId: string, outputPath: string): Promise
## Reading Data From Walrus
You’ll need the blob ID to read the file from Walrus network. Here’s how you can read it and save it to a path.
```tsx [index.ts] theme={null}
import { writeFileSync } from 'fs';
import { RetryableWalrusClientError, WalrusClient } from '@mysten/walrus';
async function downloadPackageJson(blobId: string, outputPath: string): Promise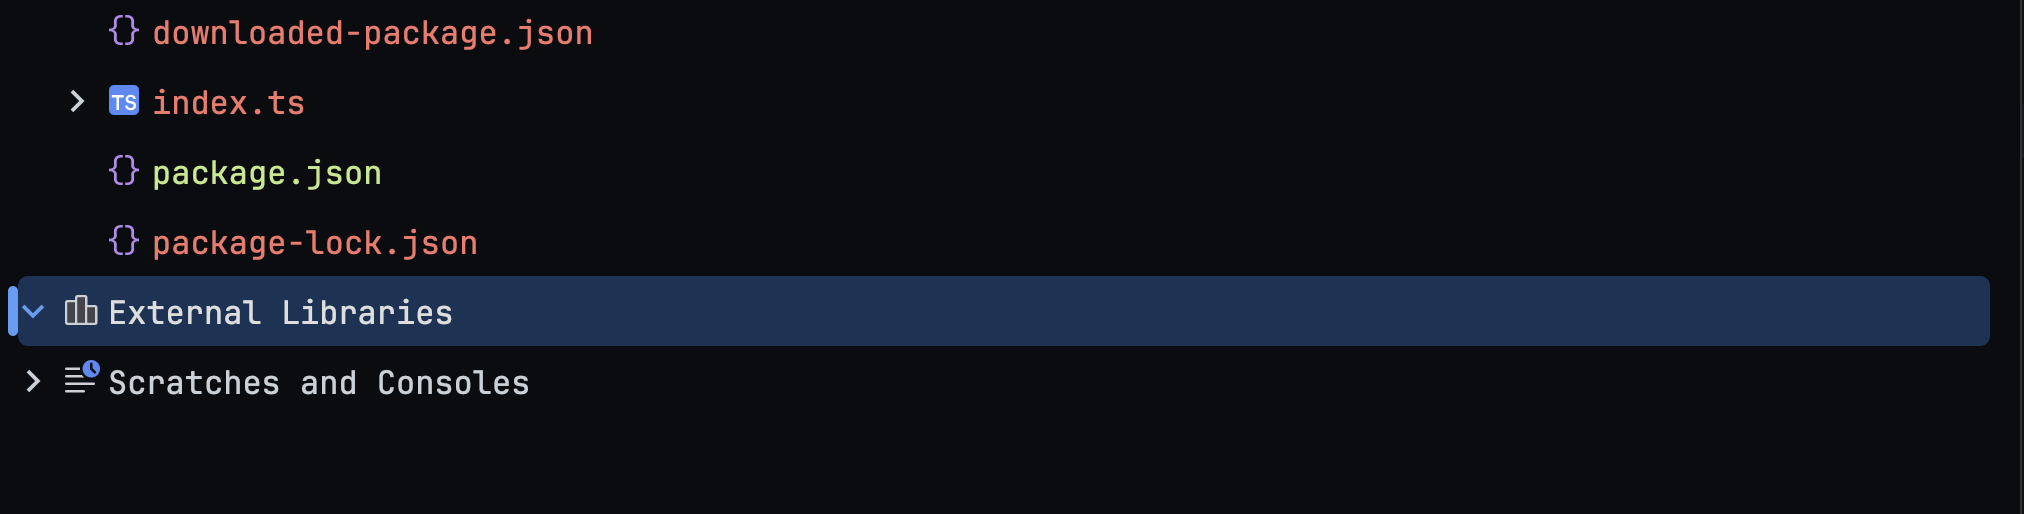 ## Deleting Data from Walrus
Provided that you set the `deletable` option to true when you uploaded your blob to Walrus, you should be able to delete it from the network with the `executeDeleteBlobTransaction` function like this:
```tsx [index.ts] theme={null}
async function deleteBlobByObjectId(blobObjectId: string) {
try {
const { digest } = await walrusClient.executeDeleteBlobTransaction({
blobObjectId,
signer: keypair,
});
console.log(`✅ Blob deleted successfully. Transaction digest: ${digest}`);
} catch (err) {
if (err instanceof RetryableWalrusClientError) {
walrusClient.reset();
console.warn('⚠️ Retrying after client reset...');
const { digest } = await walrusClient.executeDeleteBlobTransaction({
blobObjectId,
signer: keypair,
});
console.log(`✅ Blob deleted after retry. Digest: ${digest}`);
} else {
console.error('❌ Failed to delete blob:', err);
}
}
```
In this case, you’ll use the Sui object ID during the function call to delete the object like this:
```tsx [index.ts] theme={null}
deleteBlobByObjectId('0xac0988c339c5ec5c6b230f64e75b22a09457eff136e1e30fc3ce21412aa93ef6');
```
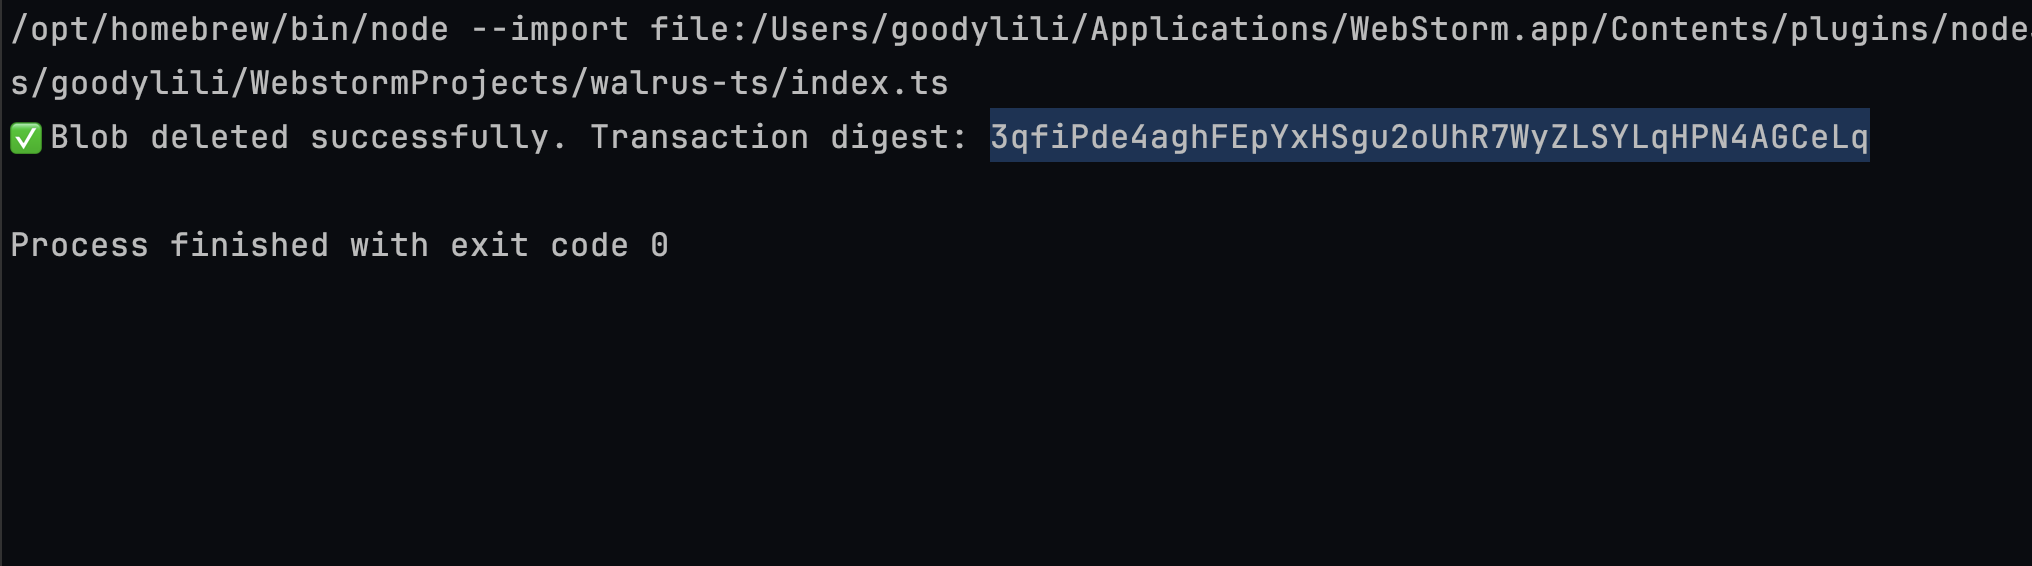
Here’s the output you should expect if you execute the function:
## Deleting Data from Walrus
Provided that you set the `deletable` option to true when you uploaded your blob to Walrus, you should be able to delete it from the network with the `executeDeleteBlobTransaction` function like this:
```tsx [index.ts] theme={null}
async function deleteBlobByObjectId(blobObjectId: string) {
try {
const { digest } = await walrusClient.executeDeleteBlobTransaction({
blobObjectId,
signer: keypair,
});
console.log(`✅ Blob deleted successfully. Transaction digest: ${digest}`);
} catch (err) {
if (err instanceof RetryableWalrusClientError) {
walrusClient.reset();
console.warn('⚠️ Retrying after client reset...');
const { digest } = await walrusClient.executeDeleteBlobTransaction({
blobObjectId,
signer: keypair,
});
console.log(`✅ Blob deleted after retry. Digest: ${digest}`);
} else {
console.error('❌ Failed to delete blob:', err);
}
}
```
In this case, you’ll use the Sui object ID during the function call to delete the object like this:
```tsx [index.ts] theme={null}
deleteBlobByObjectId('0xac0988c339c5ec5c6b230f64e75b22a09457eff136e1e30fc3ce21412aa93ef6');
```
Here’s the output you should expect if you execute the function:
 ## Conclusion
You’ve learned how to install Walrus and do the basic functions of storage over the TypeScript client. Regardless of what you’re building now you can keep the entire stack decentralized.
## Conclusion
You’ve learned how to install Walrus and do the basic functions of storage over the TypeScript client. Regardless of what you’re building now you can keep the entire stack decentralized.